Built-In Wardrobe
The following post contains affiliate links. To learn more about what this means, please visit our disclosures page here.
Finally! We have a place to put our clothes!! This was such a fun project, but BOY was there a learning curve! Our goal was to extend the bedroom floor a bit, to give us some moving space at the end of the bed, and have our wardrobe be the space beneath that area. Next to the wardrobe will be our stairs. But our ladder will do for now, so stay tuned for a post on that later!

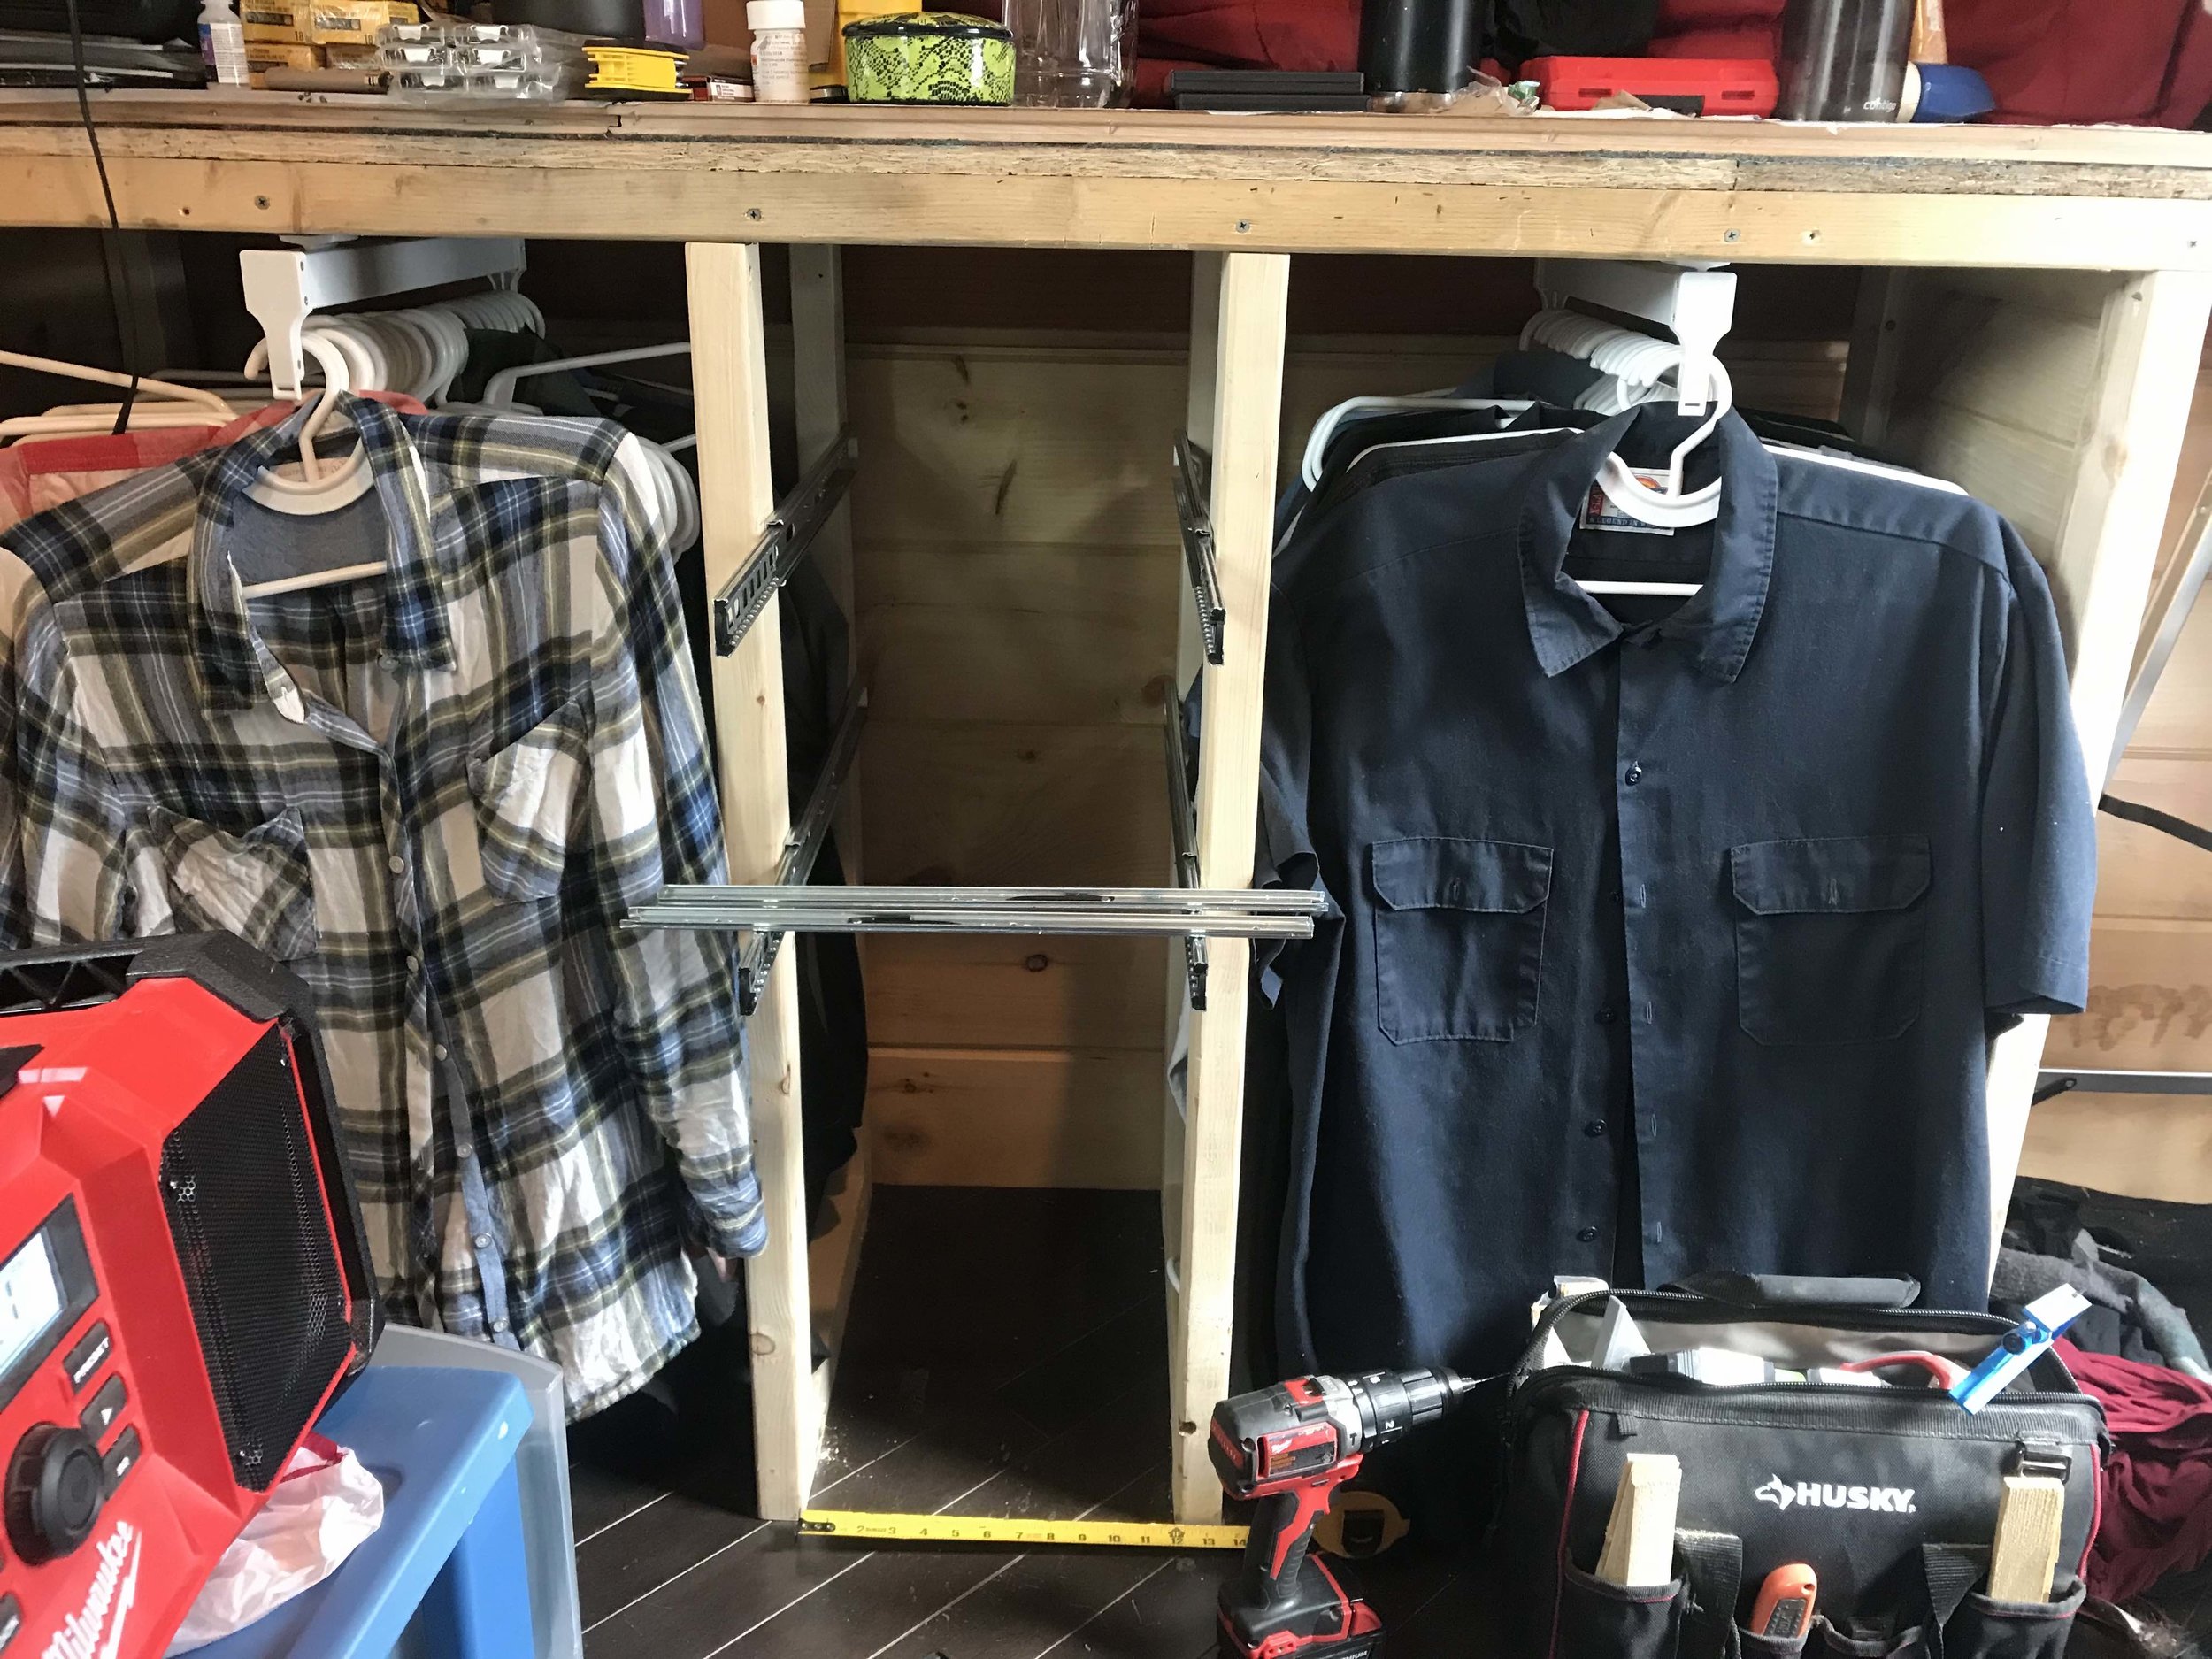
Just like our bathroom vanity, the only materials we used to construct the wardrobe were 2x2s and our leftover pine. We started by making a frame to support the floor above it, as well as the drawers between:

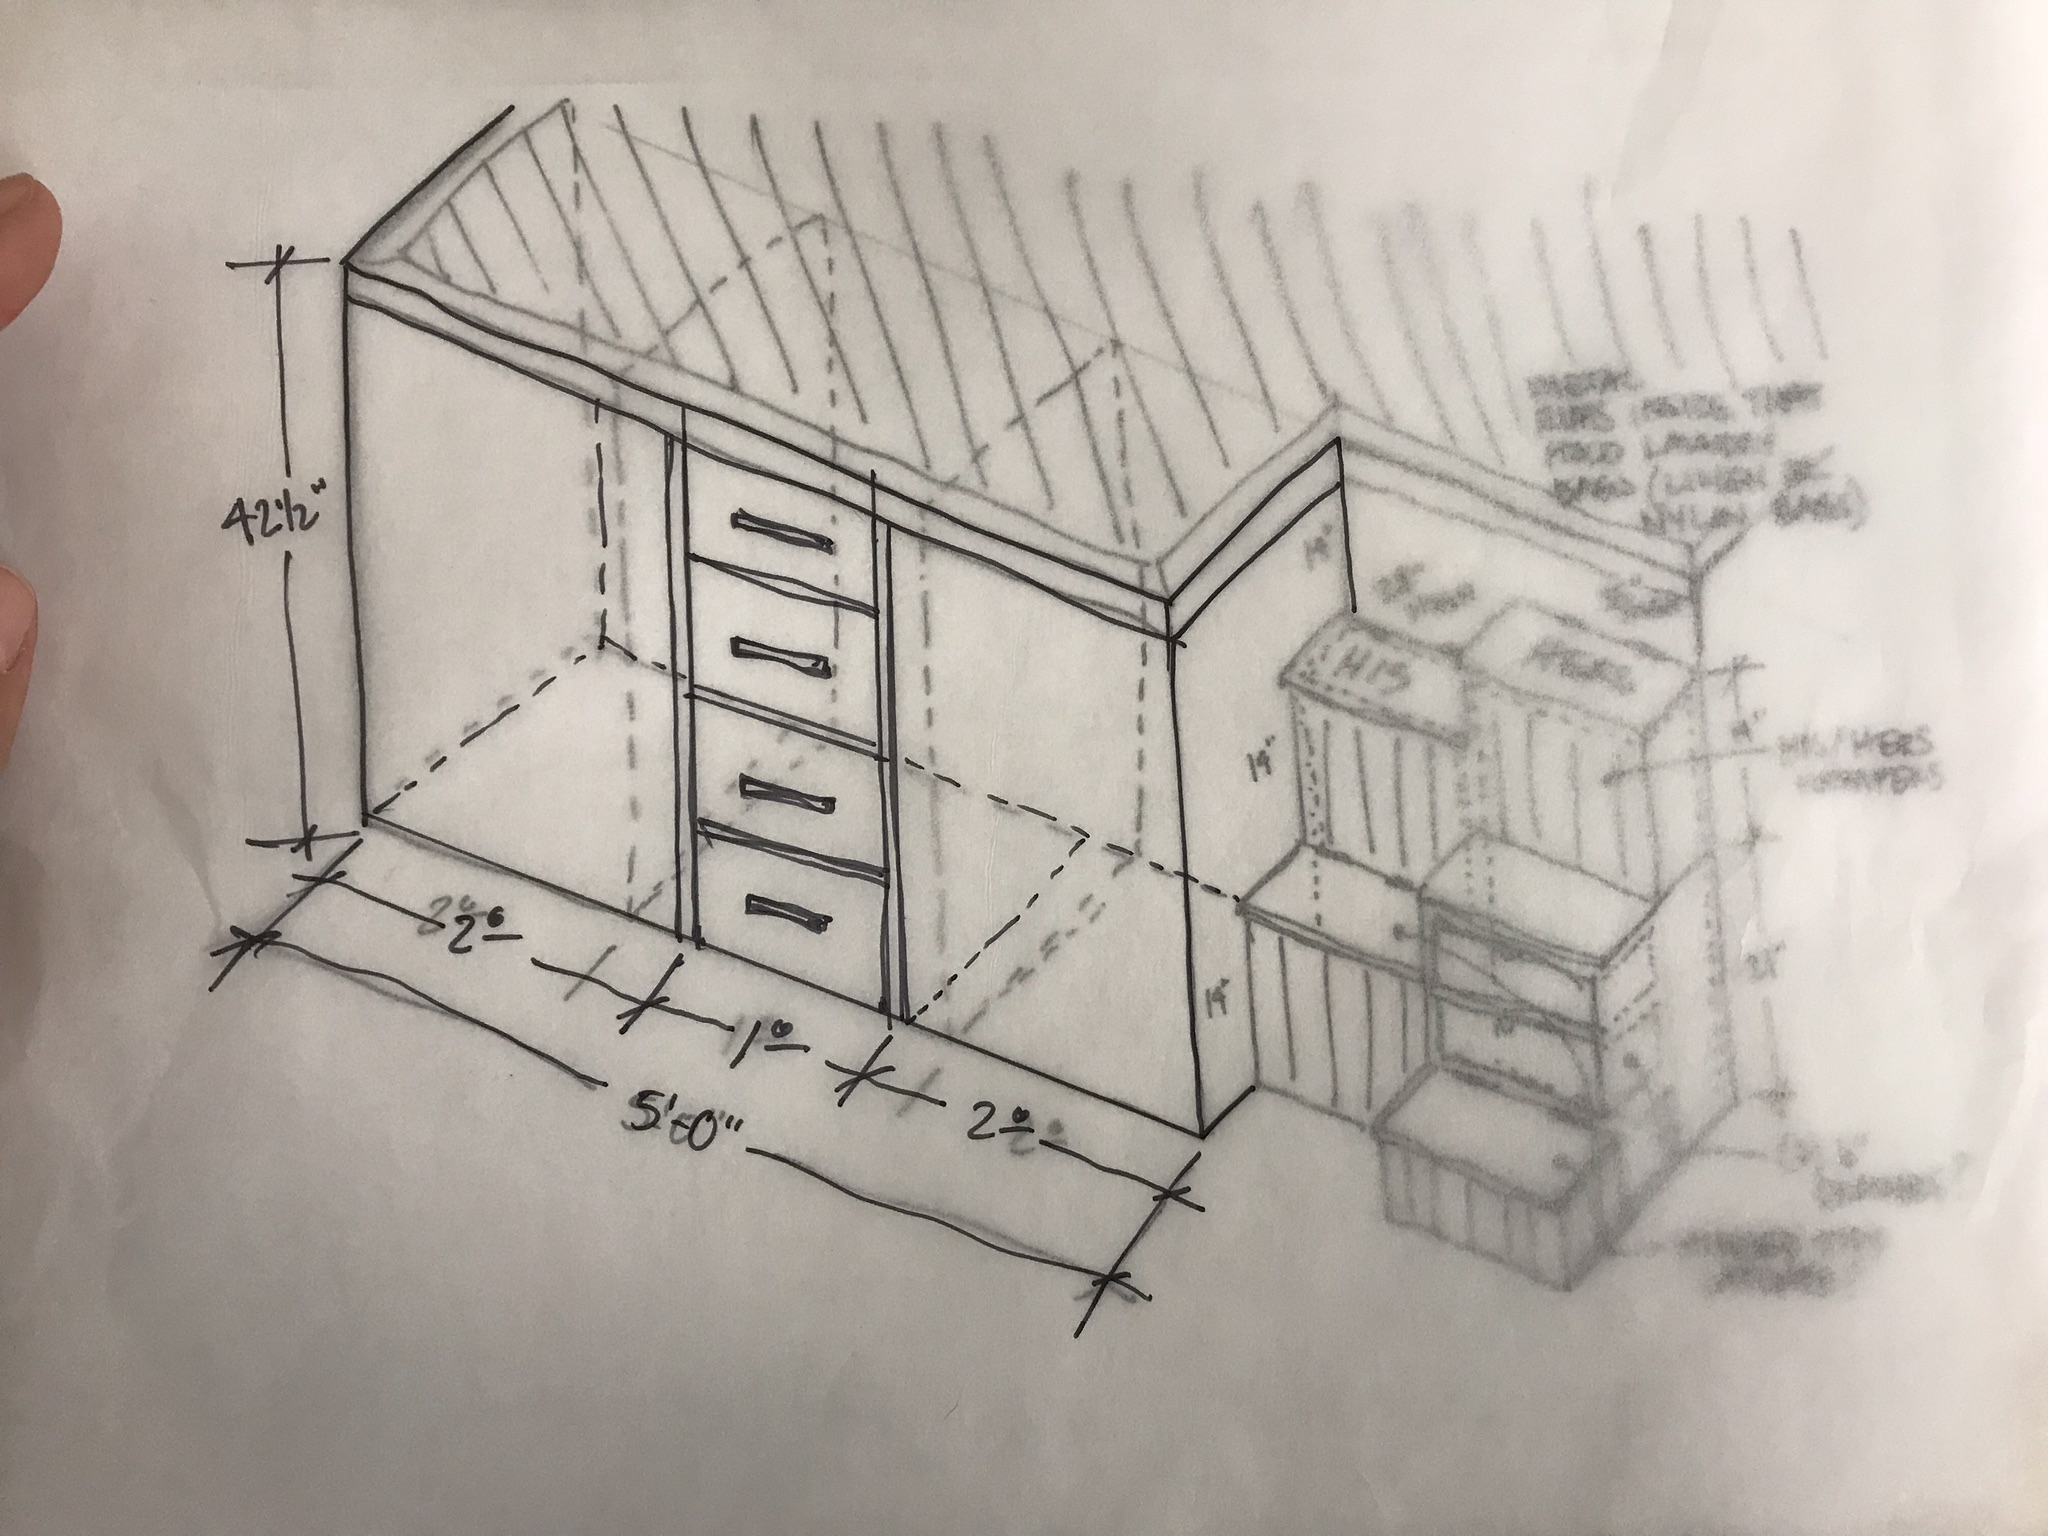
We refined our design (mostly of the stairs) to look like this:

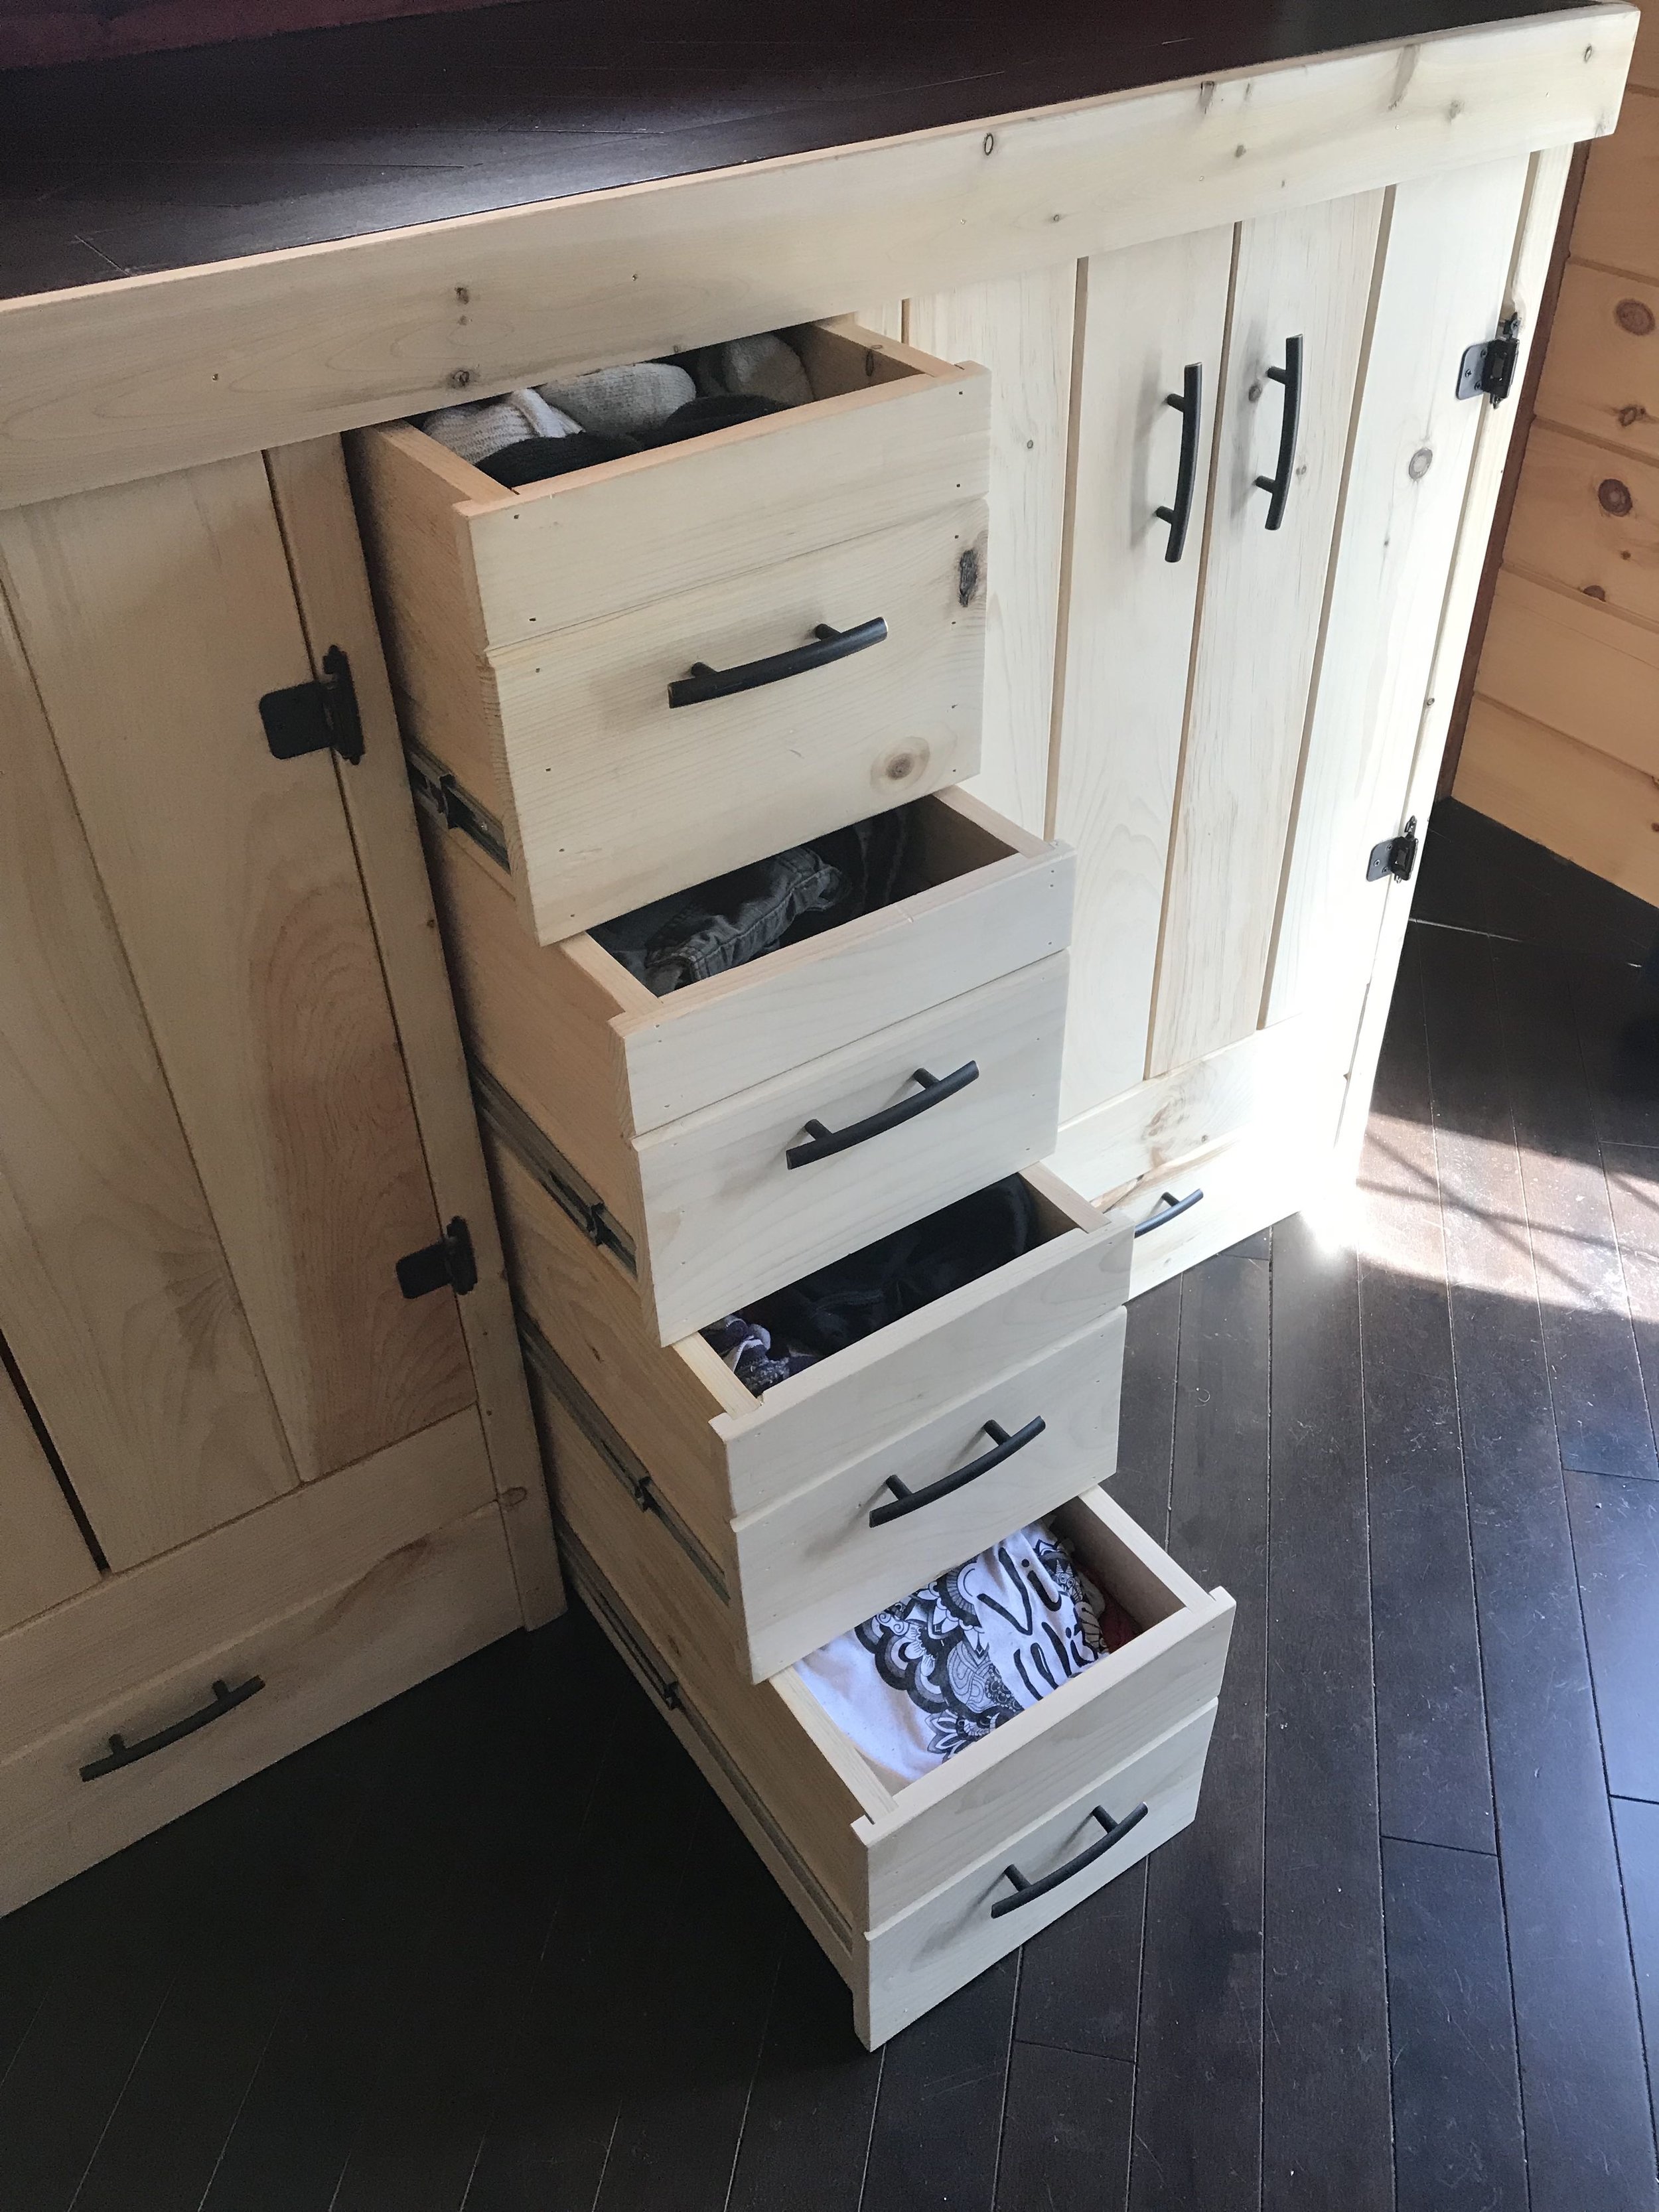
I was determined to cut all of the pieces out for the 10 drawers and just begin assembling them all, but Brian (my voice of reason) asked me - “why don’t you assemble one and figure out what you like and don’t like about it before making the rest?”
I, then grumbling, turned out to be grateful he suggested that, because I immediately realized I didn’t leave room for the drawer slides in my first drawer design! I did not include a photo of the first screwed up drawer, but we found use for it as a crate. :)
This is our actual first drawer:

I routed channels on the inside face of the front panel to slide the sides into. We had rabbited joinery at the back of the drawer, and along each side, at the bottom, I routed a channel for a 1/4” plywood bottom. I then wood glued and pinned it all together.


Then I went to town on the rest!


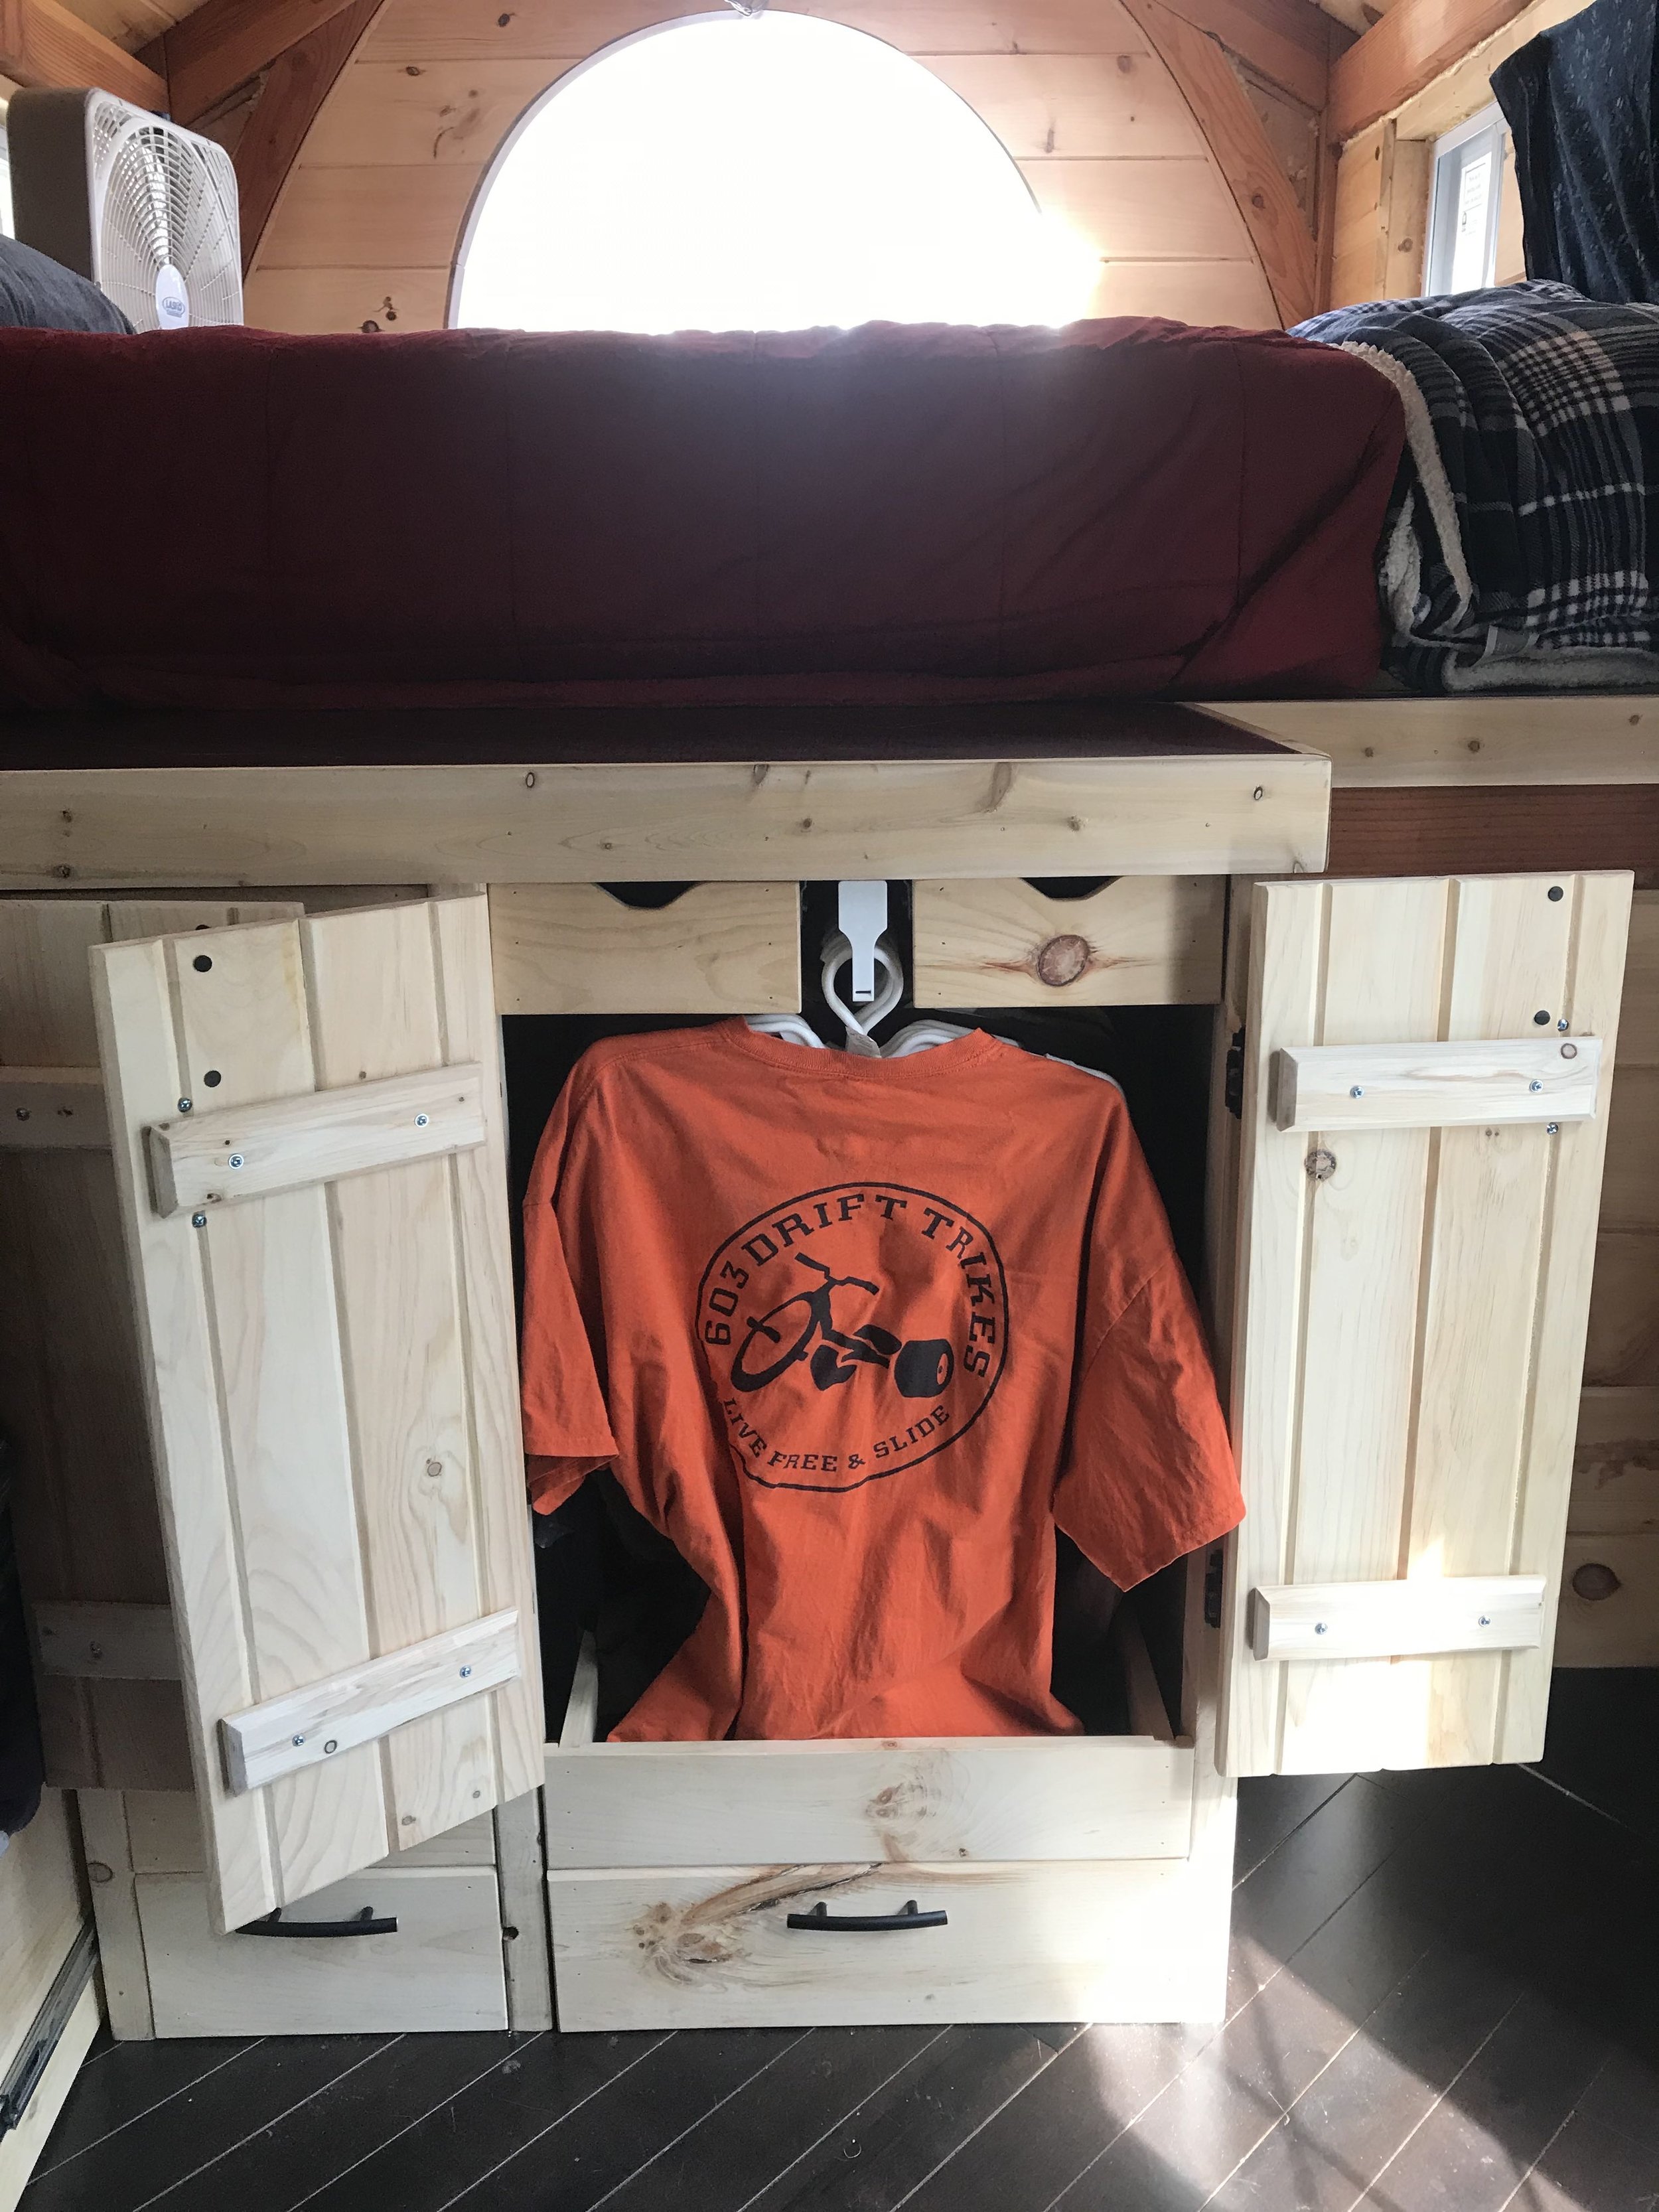
I installed some clothes hanging rods that pull straight out, so we could hang some shirts: his on the right, mine on the left.
The trickiest part was actually the hanging of the drawers. The glides were tricky to line up, even if you checked and rechecked your measurements over and over!

And of course the more drawers I hung, the trickier it was to make sure everything lined up and nothing rubbed against each other, thus making the drawers impossible to close.

I decided to make use of the 4”x9” empty spaces above the shoulders of our hangers. I made four “secret” drawers that you have to open the wardrobe doors to get to. Here’s the first one installed while the others wait patiently:

To avoid protruding hardware on these secret drawers, I simply used my handy router to cut out finger slots from the front face of the drawer so you can grab with a couple of fingers to open it.

Phew! Getting the drawers done was a chore. Notice we don't have the luxury of a toe-kick at the floor? Every inch counts, so we couldn't afford to waste the space!

It was time to dry fit the doors. These were also made of just leftover pine from the walls and ceiling.


VIOLA! It took us several months of winter-building, only on weekends, and getting through the holiday, but we finally have a space in our home for our clothes: