It's Getting Hot in Here!
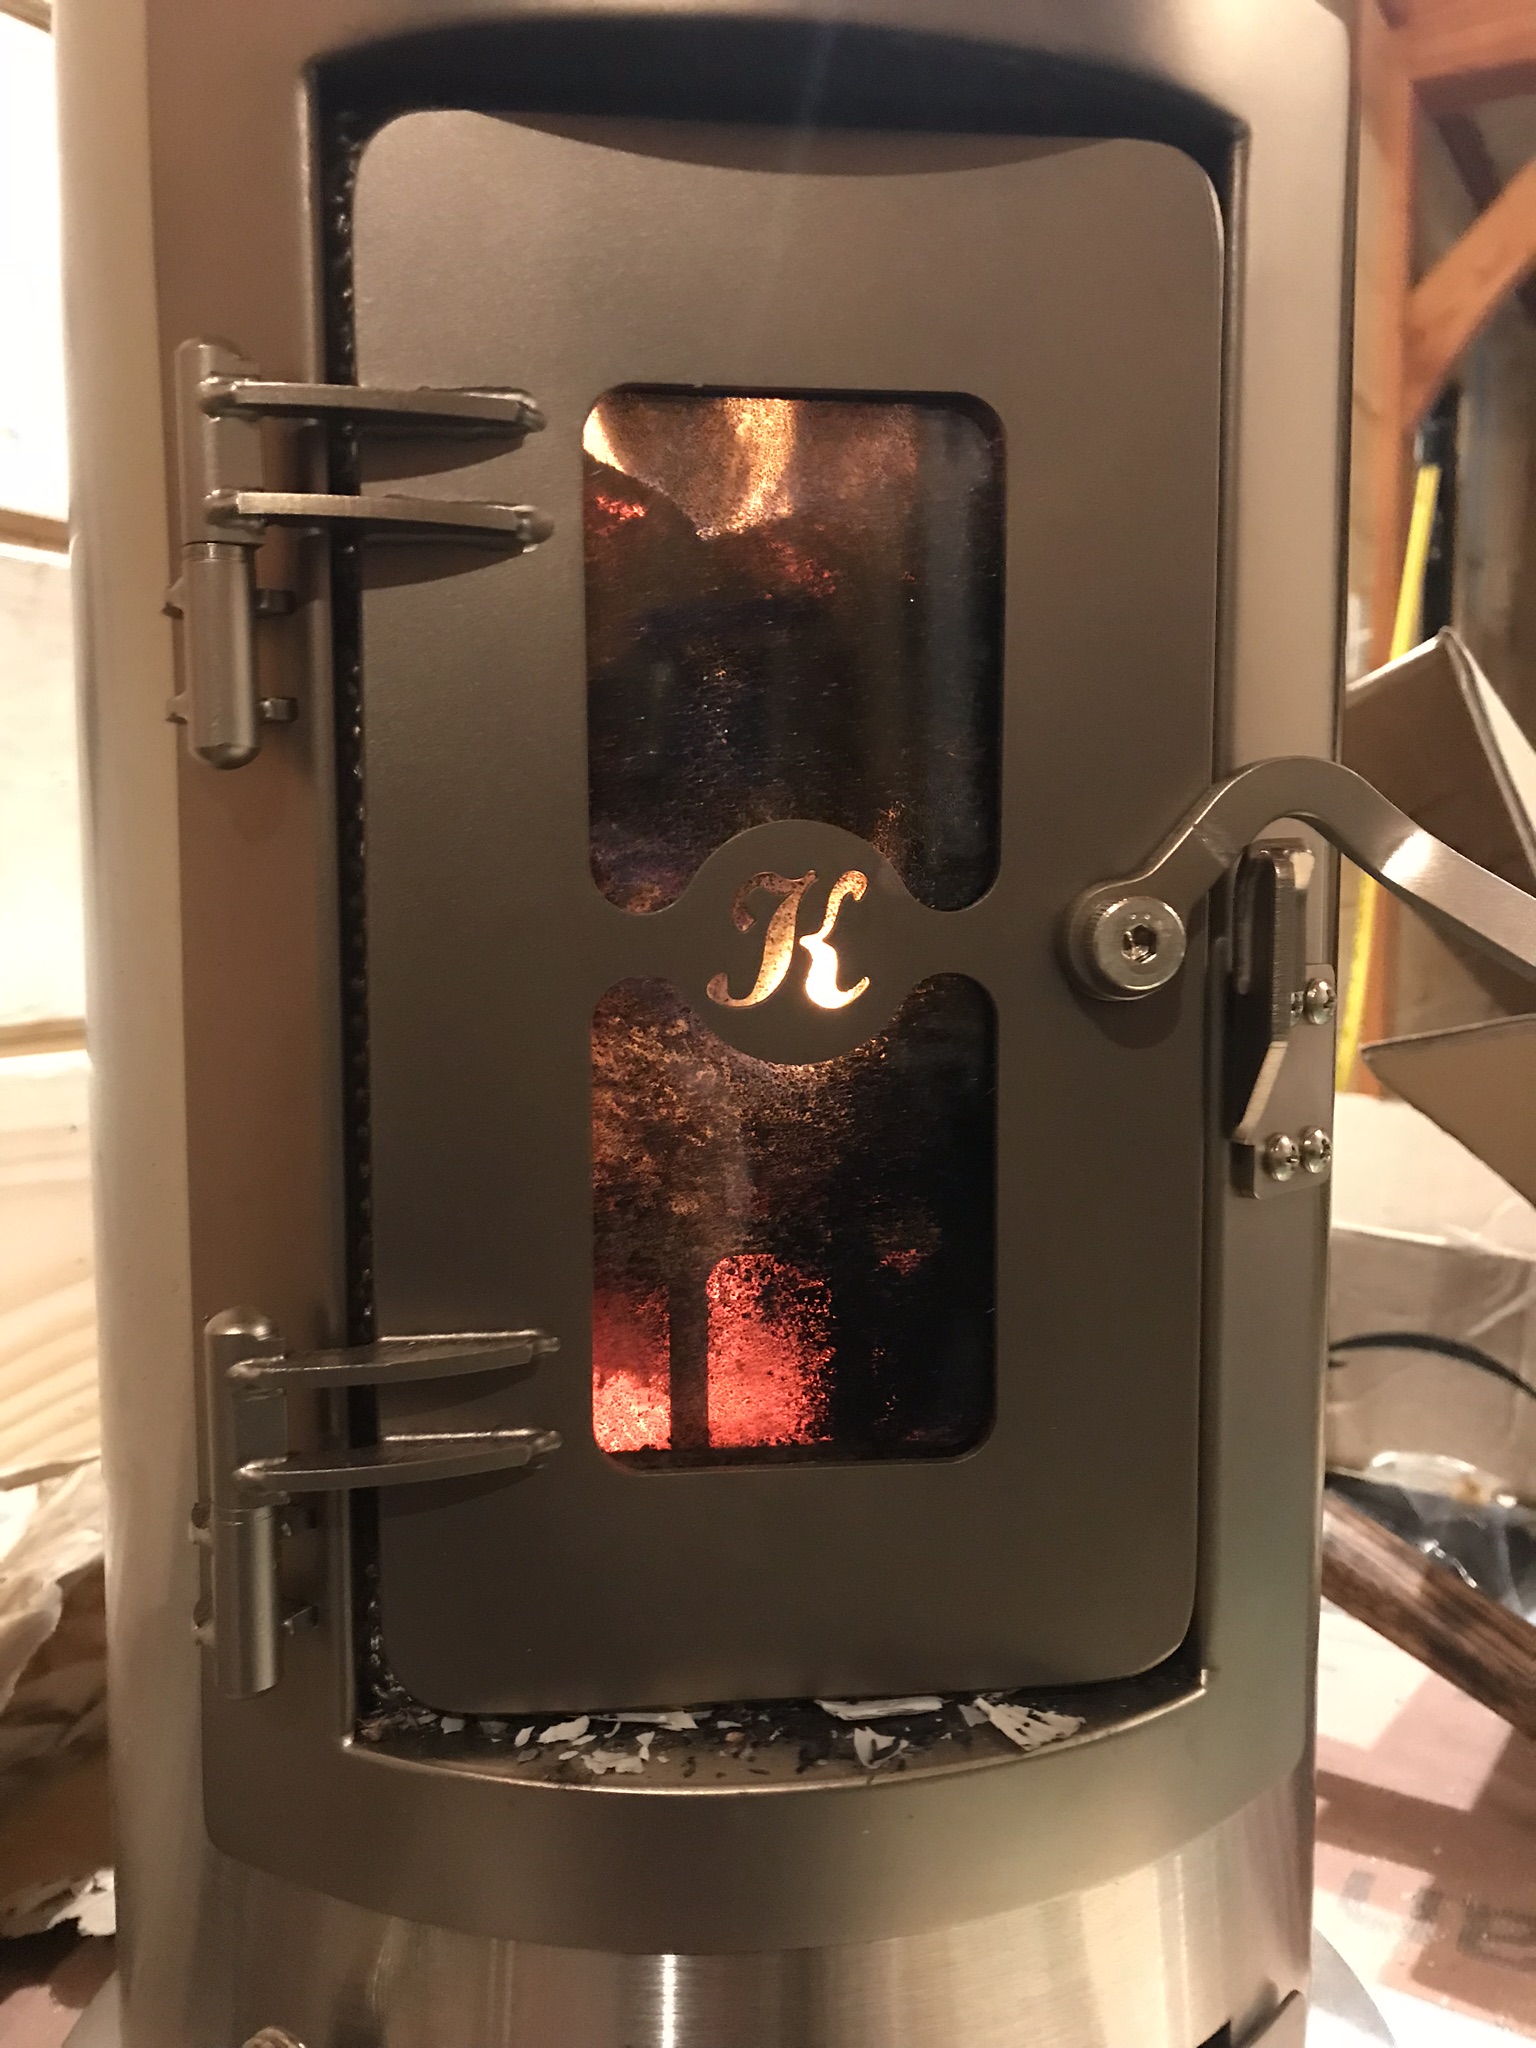
We’ve been waiting for this project! We installed our Kimberly Woodstove from Unforgettable Fire, and have had some pretty spectacular fires! Here are some key photos:

There are so many options out there for small, efficient, wood stoves. There are several reason I decided to go with this model.
The stove is efficient and light-weight, rated for a 1,500 sq. ft. room (our house is only 280 sq. ft.), it produces low emissions, the air intake comes through the floor of the trailer, and it requires minimal clearances.
Please read the following excerpt for specifications that come straight from Unforgettable Fire’s website:
Your On-Grid or Off-Grid Living Solution
The best small wood stove to heat your tiny house, bigger home, cabin, RV, skoolie school bus conversion, tree house, or boat
Approved for just 6 inches of clearance on sides and back of flue (without use of reflector panels)
Highly portable wood stove and weighs just 56 pounds
Heats smaller and bigger spaces, up to 1,500 square feet of well-insulated space
Unique venting system saves hundreds of $$$ in installation costs
Cooktop surface for on-grid or off-grid cooking
Cook, bake, generate electricity, generate light, and heat water {coming soon"} with use of optional add-on accessories
EPA-certified and CSA-certified
Appearances on multiple episodes of Tree House Masters and Tiny House Nation!
Selected out of 261 wood burning stoves to compete in the International Wood Stove Design Challenge Decathlon
Perfect for everyday use or emergency preparedness
Ultra Efficient and Clean
Produces just 3.2 grams/hour emissions
Washington state EPA-certified, the toughest state standards in the United States
Burns up to 8 hours (coal bed to coal bed) on a single load of fuel, providing a good night’s sleep
Quality Engineering
Made in America from domestically produced stainless steel
Engineered and built tough for many years of trouble-free service
Five-year, non-prorated warranty
The following few photos are of the lower portions of the stove’s flue that we needed to attach to the wood stove and align just perfectly so that we could mark where to cut a hole in the ceiling, while still keeping the required clearances.
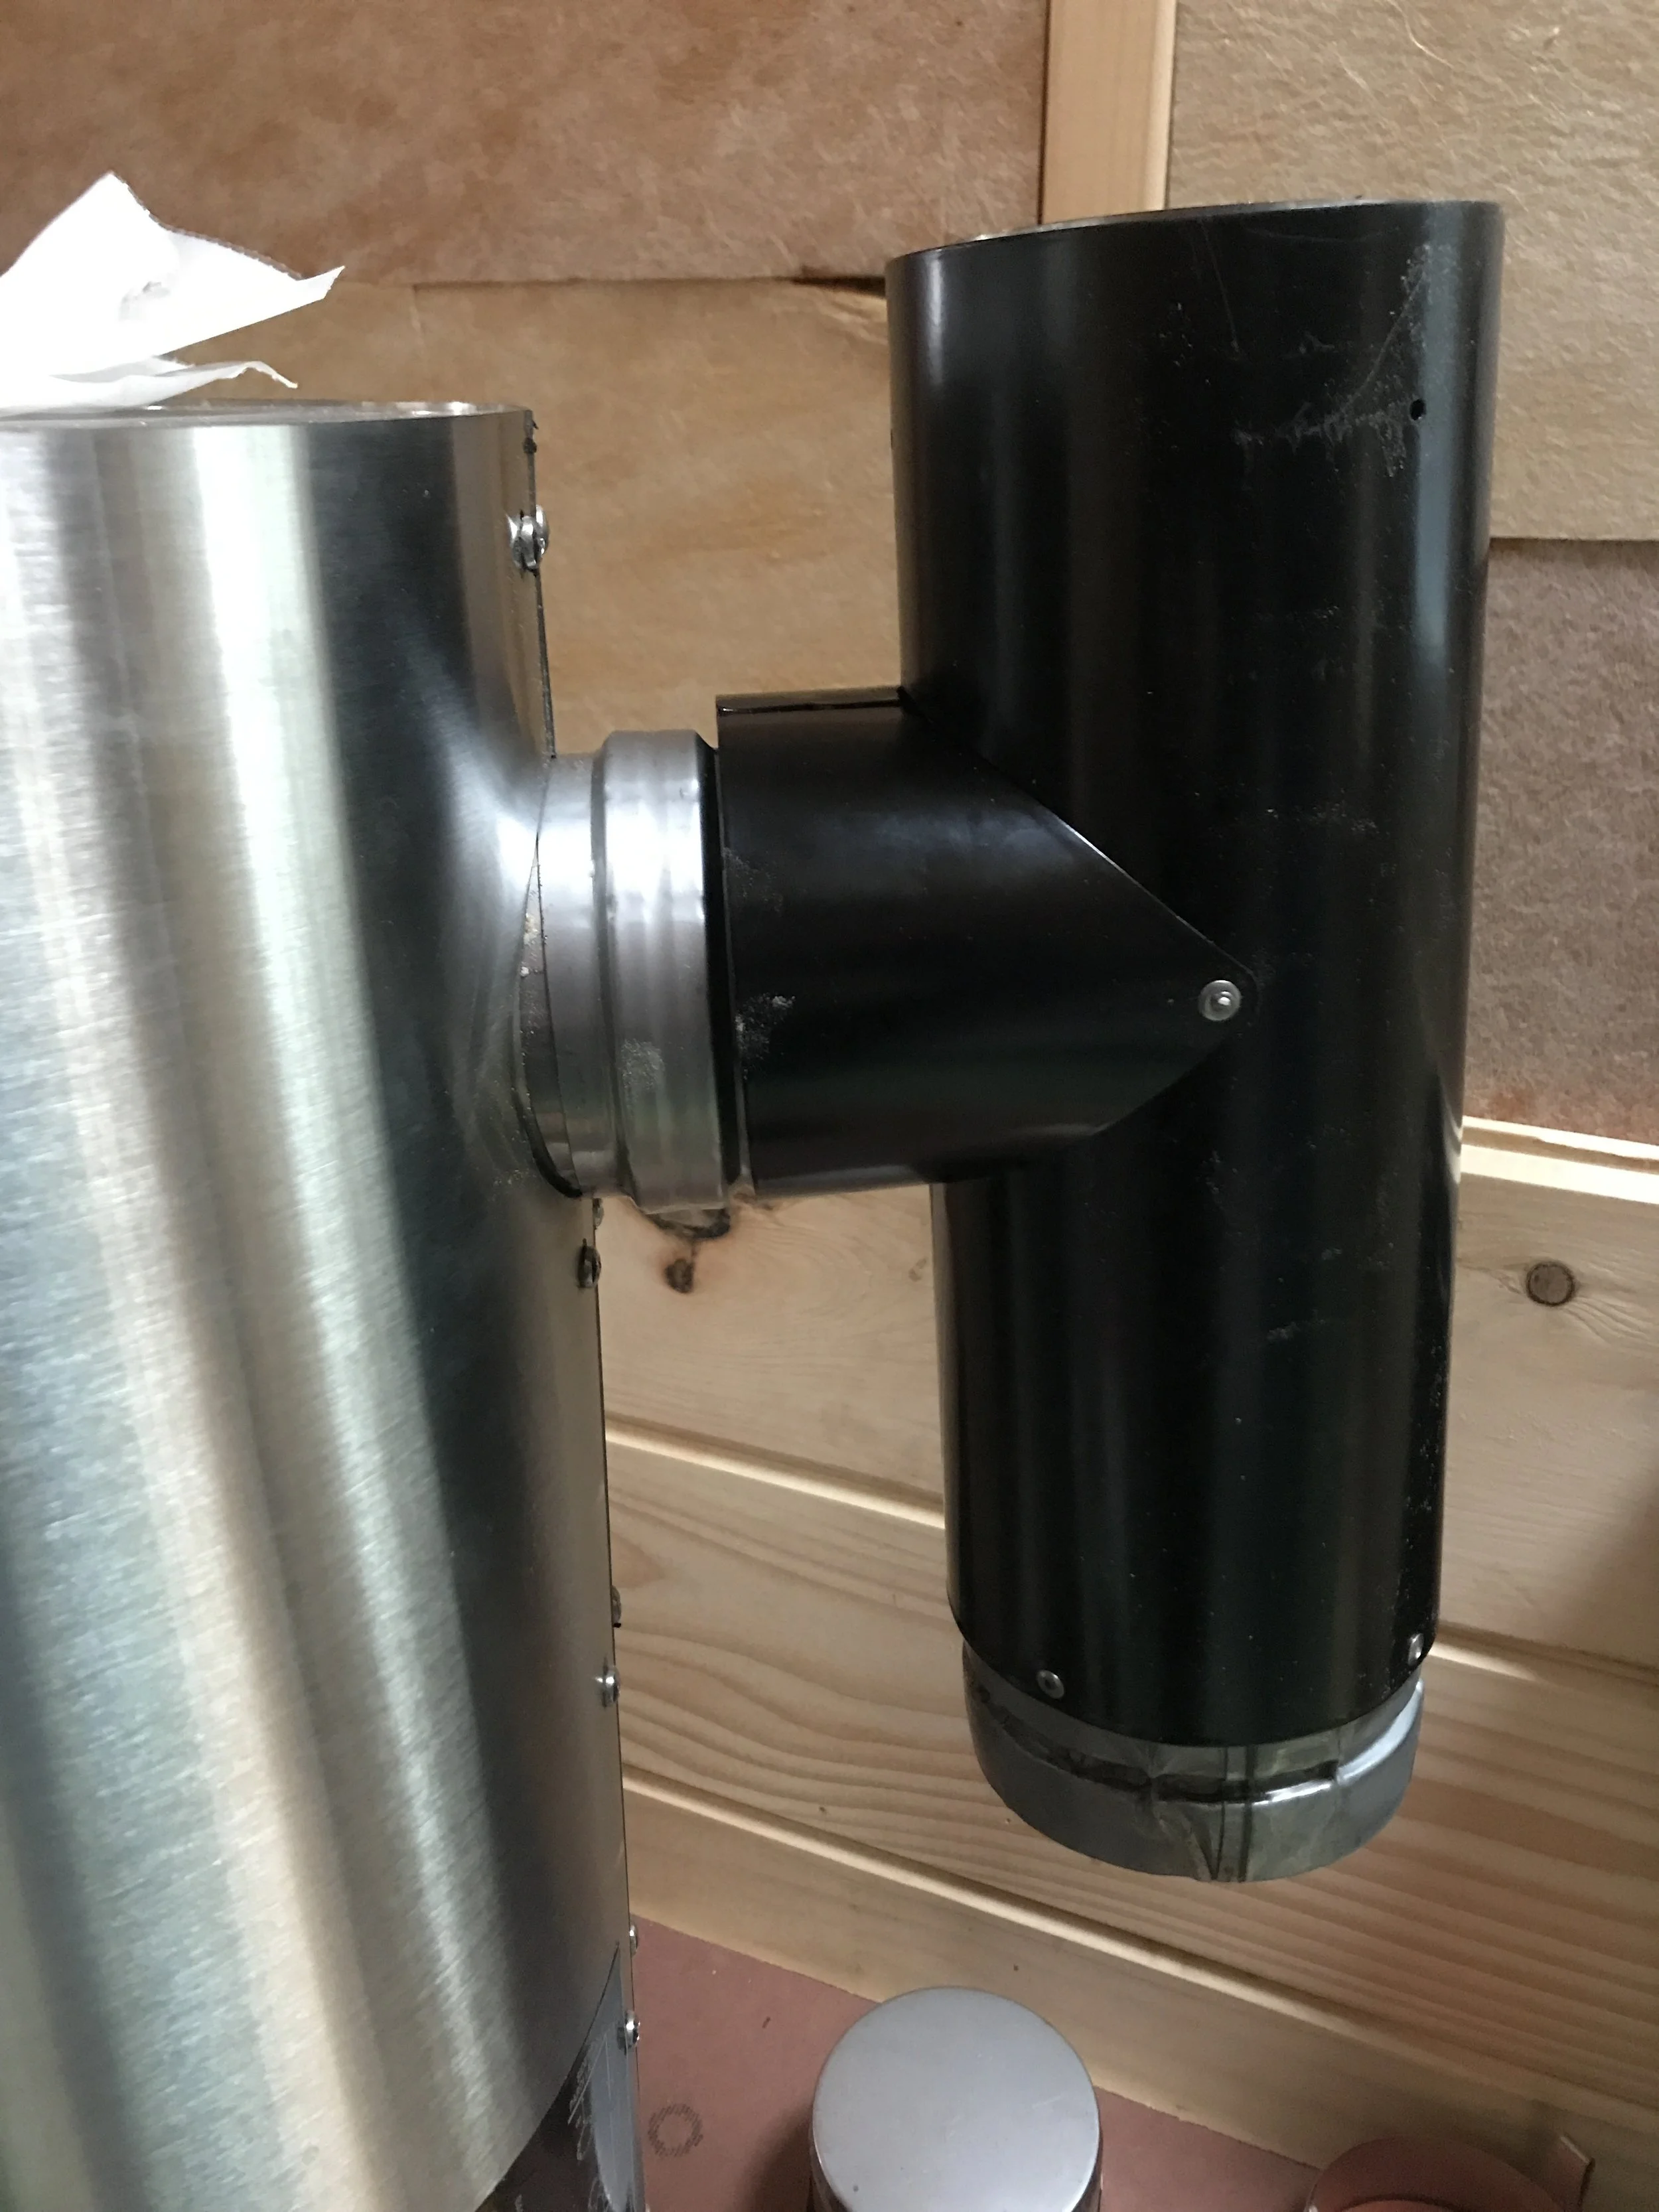
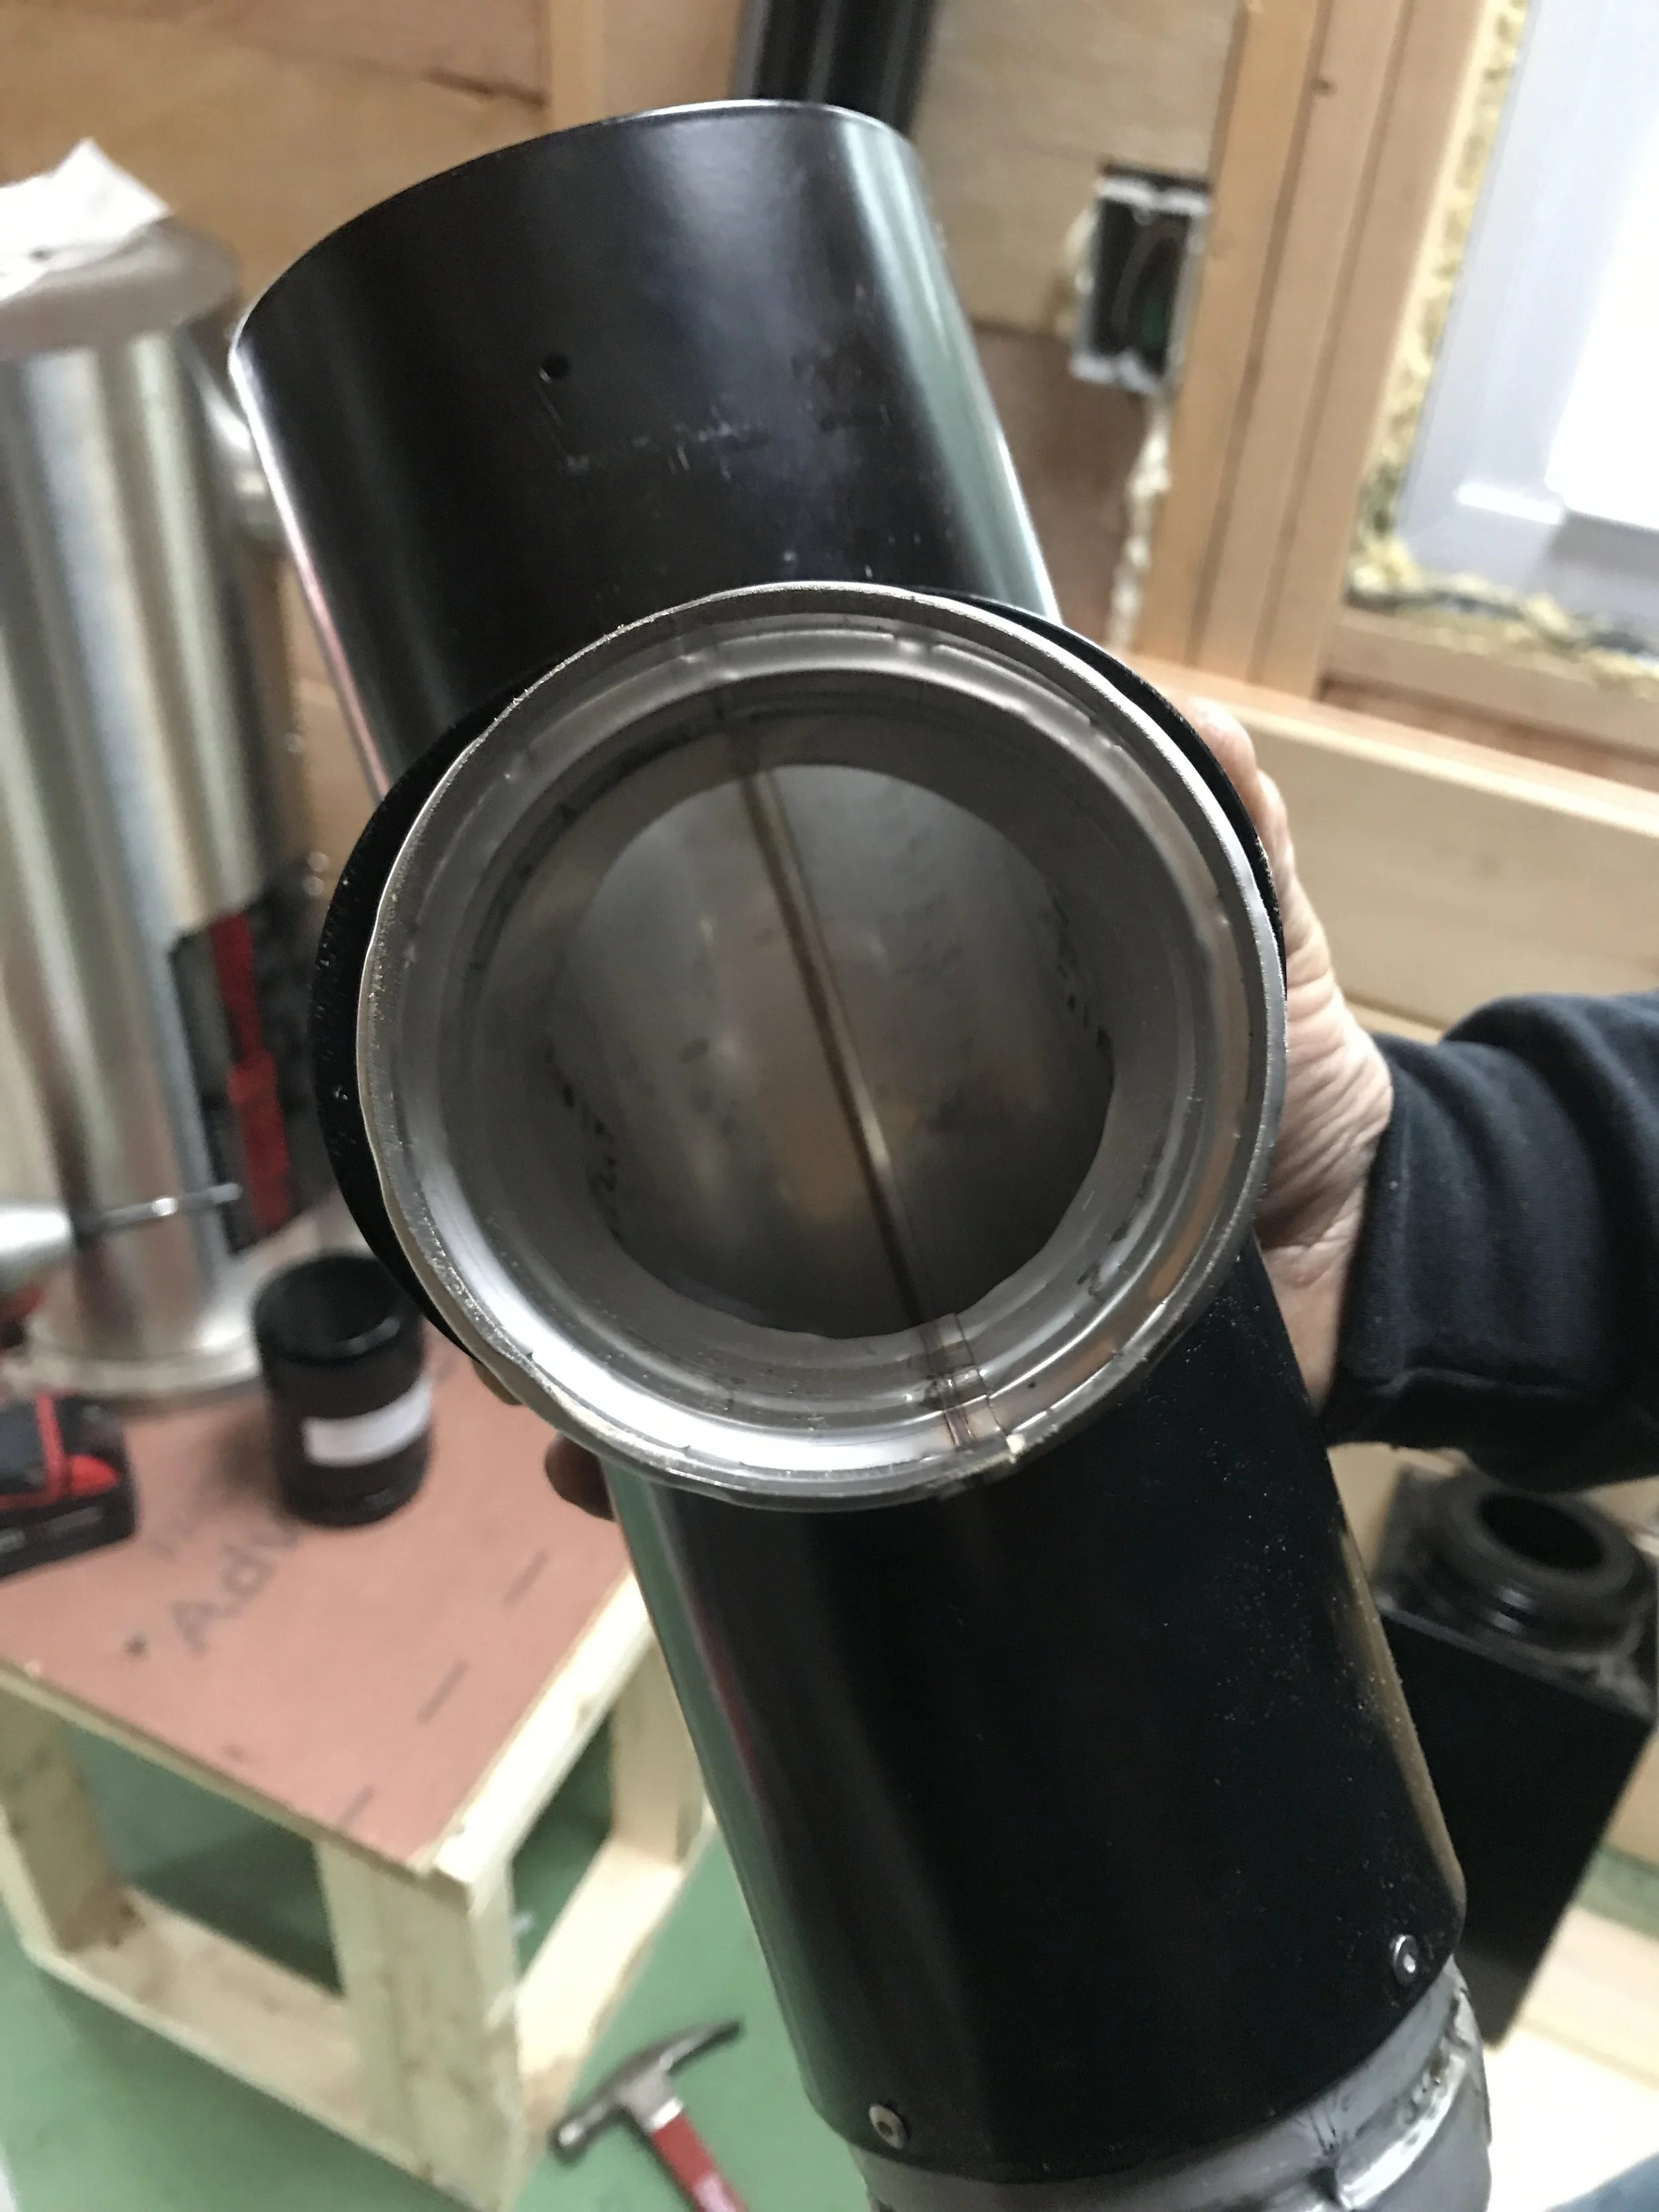
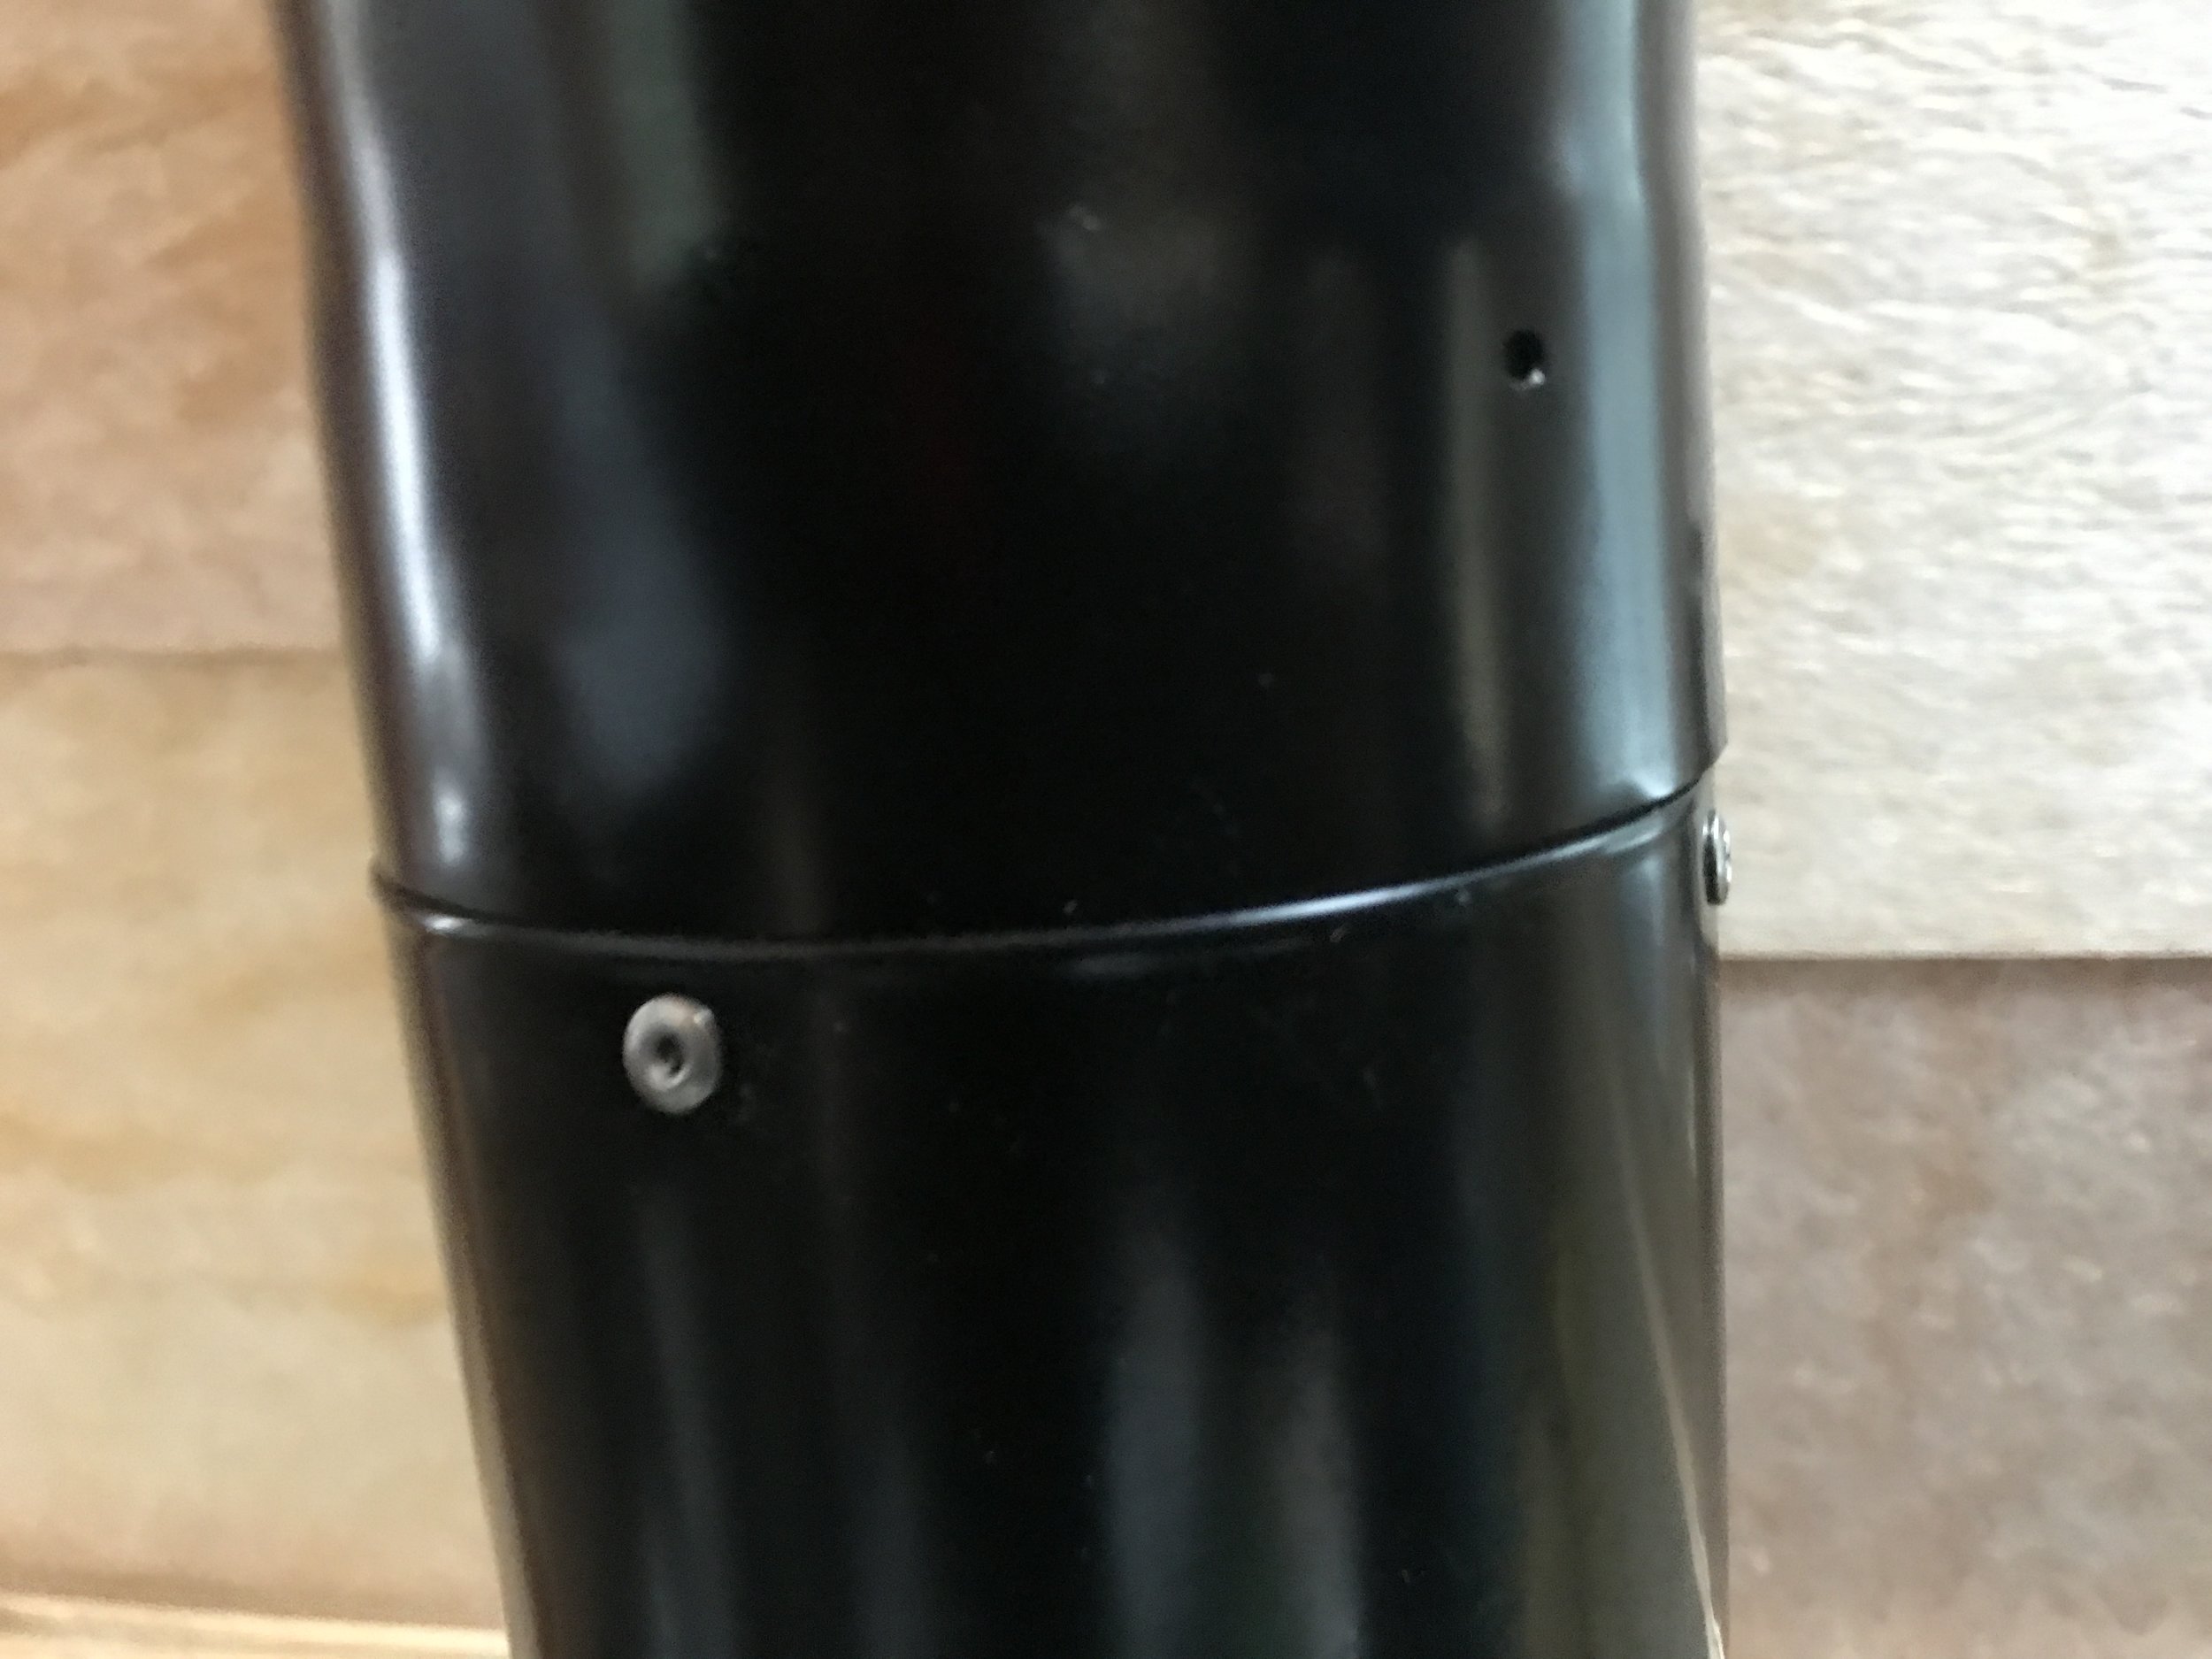
The flue is insulated and comes with gaskets to make a nice seal, when put together.


The scary part - cutting a hole through our perfectly good roof! We TRIPLE checked out markings on the ceiling before diving in the pine with a hole saw and then cutting the rest with a jigsaw.

After getting through the layer of pine, there was a 4” layer of polyisocyanurate insulation board to cut through. What a mess that made.

Then we made more markings on the plywood roof sheathing, just to make sure the flue would be level and so would the box that it goes through.

The black box gets installed straight up through the ceiling and roof and provides a space between the flue the turns through it, and the rest of the roofing materials. This is a safety precaution that must be followed.

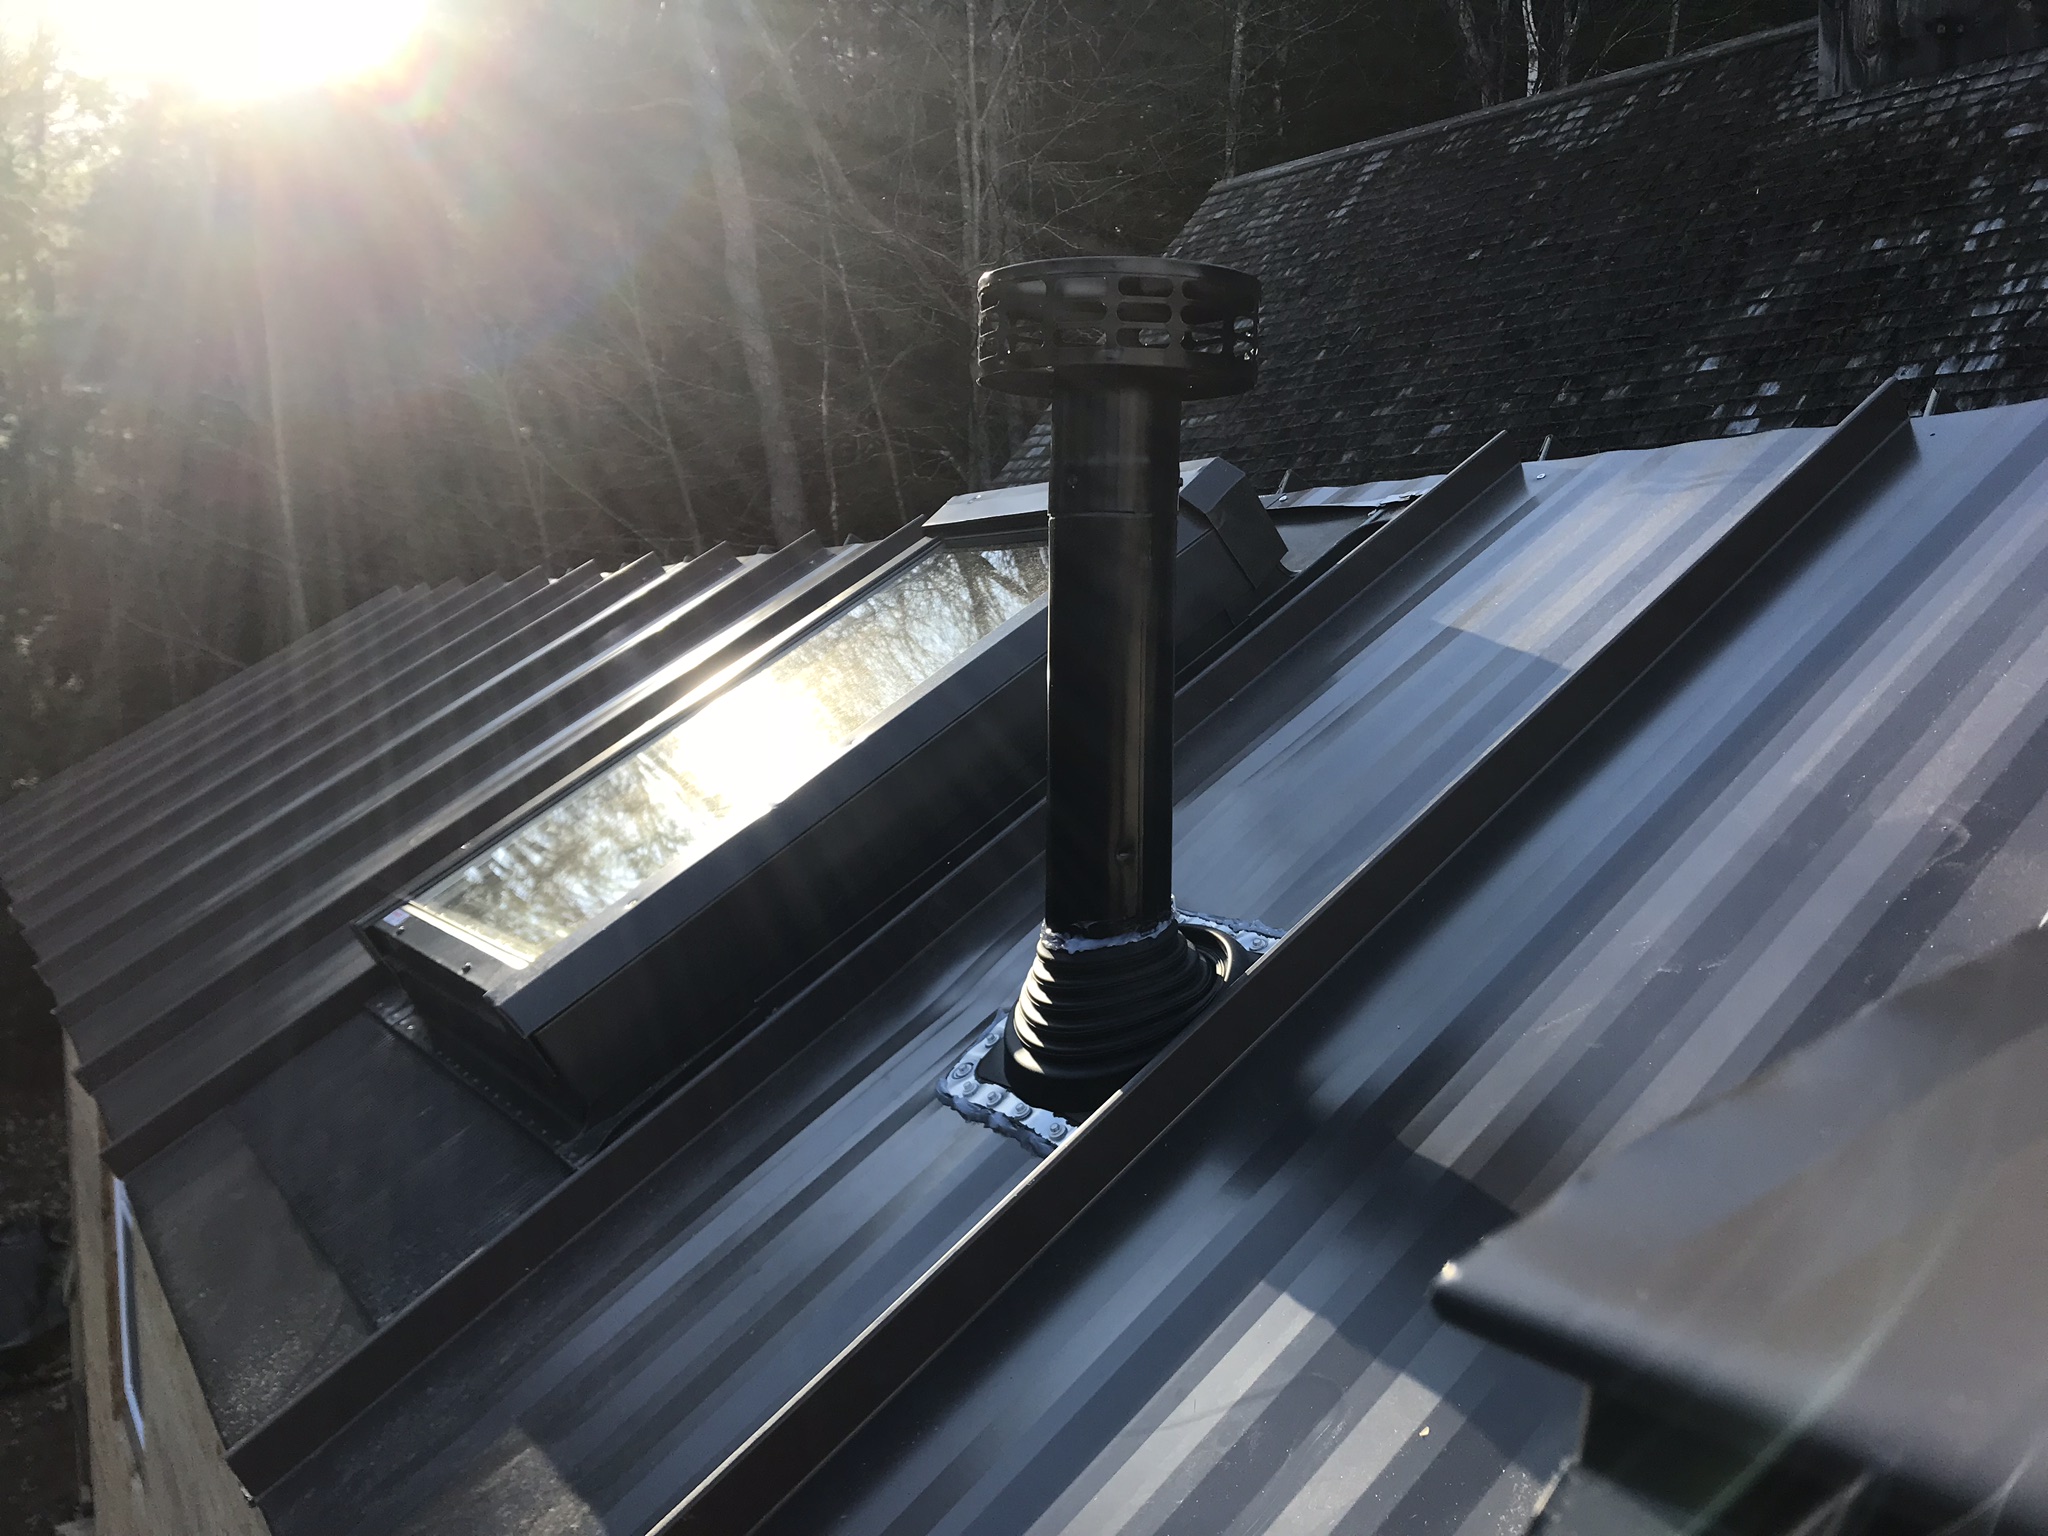
We then cut a hole in our metal panel on the roof and installed a rubber chimney boot around the flue to seal the hole we had made. We generously caulked underneath the boot and screwed it to the roof. The cap was the last piece to be installed.
Using a 2” PVC pipe as the fresh air intake through the floor, we were able to start a fire the day after everything was put together:


After a break-in period of about one week, we should be able to feel the full efficiency of this beautiful stove.